Showing posts with label PHOTOSHOP. Show all posts

How did my workshops start?

I believe that I was one of the last students who started work around the actual work. I did not waste my time, I simply explored as much as I could in this software I was using. I did motion tracking, 3D layers, Adobe Photoshop 2D file making into a 3D model. I learned Illustrator and add layers into After Effects. I used colour techniques, I also explored particle world effects and many text effects. I learned After Effects inside out before I took my mind around this project.

We were given a lot of technical stuff around this project, what possibilities we do have and what kind of video we can use.

CineStock by Mitch Martinez
Free 4K UltraHD Stock footage shot on RED Epic - Brought to you by Mitch Martinez 
https://vimeo.com/cinestock

For Green Screen

FX - Keylight 
pick the background colour
[view] - screen matte
clip black around 25

Philip explained us and showed examples of shape and text animations.

I did some techniques and push myself to do some actual tests:


Here is also things from class, what I was trying to achieve and explore from "0"


I really like the idea of moving shapes in 3D environment. THERE WAS A PROBLEM. The image software what I know very good is Adobe Photoshop. But it uses only raster graphics. I needed to learn Adobe Illustrator to work with vector graphics. The reason why, when you move raster graphics too close (zoom in) you can see pixels. Vector graphics uses only shapes which have coordinates and you can zoom edges no matter how many times.


I used UCA provided free membership for Lynda.com
I watched like a half of 17 hour and 30minutes tutorial for illustrator. It was very good and everything was explained step by step.

Now I did know how to make shape layers, different paths and actual drawings quick and neat.
I spent hours just trying. It actually is not as simple as it looks. these shapes have to been drawn on an artboard which contains specific picas and points.

It was difficult for me because I am only used to do digital graphic design on Adobe Photoshop.

After this creative work, I decided to get the brief. I chose the film "The Wolf of Wall Street". Read more in the next blog post.

As I mentioned in previous posts, our installation is presenting the result of evil behavior. It is about the communication nowadays... The source can be completely innocent so as the speaker, but the messenger is the one who makes the rules. Particularly in our installation, the way of changing the message is cleared in three ways.

Still playing with the spread of information we wanted to base the piece on the passing and delivery of words, how things said by others can’t be monitored nor controlled. In the piece, you are viewing five separate screens working as a vocal circuit. Four of the Screens act as distributors of information. Starting from the left (Screen 1) something is said, moving along it reaches the middle screen, upon receiving the news the middle screen reacts, the reaction is later heard/seen by another passing on the story. The middle screen acts as a Breeder and Target for gossip it plays a victim of rumor. Shocked by the words it has come to hear, it addresses the viewer with the words “just between you and me” in hope to seal the spreading; in natural fact, nothing stays private. The circuit loops again, middle screen reacts with anger “Beat the shit out of a pillow” yet making another headline.

CIRCUIT

I am working together with Ivan and at the very beginning, we both agreed what are our roles. Ivan is the author of pictures and digital drawings. He was in charge of characters. Meanwhile, my role was "HOW TO MAKE IT POSSIBLE?". To learn 3D animation in less than one month - I did not know how able I am to do it, so I did not risk it. So, Ivan found a solution, he showed me video of Micheal Jackson and I decide to look deeper into the production process

Having in mind this interesting video I look for another. Each video took my attention more and more.


After a good research, I found out what is Morph Motion - Still to Still. Soon I had a RE:Flex plugin on my Adobe After Effects.

I run few tests and realized that on trial version nothing is going to work. It put a huge cross over the image - watermarked.

Having this problem made me think of ways around it. So I came with a solution to generate huge pictures, edit them with the watermark and then just crop needed frame in Adobe Premiere.

I ended up with 11.5K footage on my computer. All videos and sequences were about this size leaving portrait area for FULL HD resolution. 1080x1920p PORTRAIT!

I watched tutorials how to use RE:Flex motion morph for different files - videos, still images and animations. I was very into this technique and I am glad I explored it. First tests went bad, but I got use to it. One portrait took me about 4 hours to turn sideways and open its mouth.

What motion morph does is basically takes the points defined by me and blends together with the image next. I have to go frame by frame and move shapes that are different for two frames between.

Here is a video that is taken for 4.5 hours.

In total, I made fully 6 portraits. Morphing and later on exporting through Adobe Premiere in .MOV H.264 1080x1920p 25fps.

After generating motion from still, it was time for motions. Each motion was trimmed separately like sequence. It was more like a sequence of the sequence of the sequence. Files on files.
As you can see. For each face, I had approximately 22-30 masks and each mask has to be keyframed. Well, that would be easy, but each mask, like layer for hair consisted of 200 points which need to be separately moved because masks are changing their own shape. 

In my opinion, we set roles very clever. Ivan was in charge of characters. As soon as he finished one face I began to draw shapes and move pictures in After Effects. I think his process was not easier, all layers and texture took a long time. Meanwhile, I was working with different sizes, trying to figure out pixel ratio and frame times in certain seconds. 

We had issues, particularly my Adobe crashed for like 5 times. 

I would say that I was excited by the process learning a new technique... but closer to the end and I got very tired. Every single point needs to be checked in all frames, keyframed every single second and because of different drawings, all shapes changed their form every single frame. 

It was challenging, even more, because of something I have never been aware of. I got new experience and a feeling of great teamwork. 

Making the set.
No matter who you are - camera operator, director, gaffer - you have to help to make the set.
I was involved a lot. We had difficulties in human resources and because of that we had arguments and problems in further work.
I would say, making a set was the most stressful part. Okay, let's stop talking about everyone else. I was involved in...
Attaching the walls together
Scratching the walls from wallpapers left before. 
Abrade the walls making smoother.
Gluing wallpaper to the wall and smoothing them out.
I help with painting walls.
If I am right the next task for me was helping with floor.
At the end me and Dan worked together.
We both installed blind holders and hanged the blinds.
Dan's task was to sort out how the TV will be installed in the wall... I helped with the solution, drew some sketches and worked on the set. I cut pieces of wood to make a gap between the wallpaper and wall behind. 
After installing TV I tried to look for other small jobs to help with. It was a creative week at the end.
 
 Next thing we had to sort out was props for the set. We went to charity shops to look for chest of drawers and lamp. Anything pastel, minimal and futuristic. We also got fake plant. Everything looked neat and natural.


As soon as set was almost fully decorated, it was Umor's part to do lightning. As camera operator, this was part that was very important for as well. I was looking what could be a problem for be, where I can move, am I not going to affect some light and cause shadows? Those were the questions I had all the time looking at Umor's job. When I was confused I talked to TJ (DoP) to update me about the scene. If I saw some difficulties for myself filming, I told TJ and Umor that it might not be the best for me.


Studio shoot begun with a post weeks ago 'Role- Camera Assistant' - that was my chosen role to research. We had to research individually each department to present for everyone what the roles in film industry actually means. I was happy with my role, because I am technically interested in gear and techniques to use for filming. I have always been passionate about pushing the limits of quality.  I like to generate ideas of stories and main concepts, but it has never been as big as it is about my obsession for technology.

Camera department is my role indeed. I like the looks I could technically achieve. I like to challenge myself to make the shot more stable, more crisp, more detailed, more dynamic, more interesting and exciting. In my spare time I am reading a lot about new editing styles, new lighting, technology and filming techniques. I love to read articles of new Adobe Photoshop updates, how old tools can be used to achieve something new. There is always something new to learn. I am following latest updates of cameras, I am loving to learn new features. For example, I worked with GH4 and that was a good reason to find out what its features means - v-log and 4K MAX. I had what is the difference. Soon I was on articles and YouTube videos. I research from very beginning to advanced controls of V-log and 4K Max features.

I like to always be on top of everything that lately comes out. Before something has been released I have most likely already take a look on specifications, researched certain parts of camera's or other gear's features and trying to understand without looking at actual device. 

I guess my friends call me crazy because of doing it, but that's how I see art behind film, sound and photography.

Returning back to roles, for studio shoot I picked the role - Camera Operator. I guess could not wish any better, I was happy with my role at the very beginning.
 Pre-production was a pain for everyone I guess. I was pretty calm because I knew that my real work will be on the scene. Although I was CO, I helped Tarald a lot with the storyboard.

I drew storyboards with a help form Ivan, Natalie and TJ. When they were done I made them digital. I also helped Umor with lighting plans. We discuss in groups and explained those to Anne Parisio. I took part in lighting plans confidentially cause I had experience on sets like this before. Mostly for small interviews in Latvia, but still - those were whole scenes for full lightning including reflectors and diffusers. I used to help out gaffer at local television in my hometown Talsi.

As I mentioned before, I love research a lot of new techniques and gear, so I have seen many lighting situations and problems via Youtube and Fstoppers.com. I am learning film standards when I do have spare time.
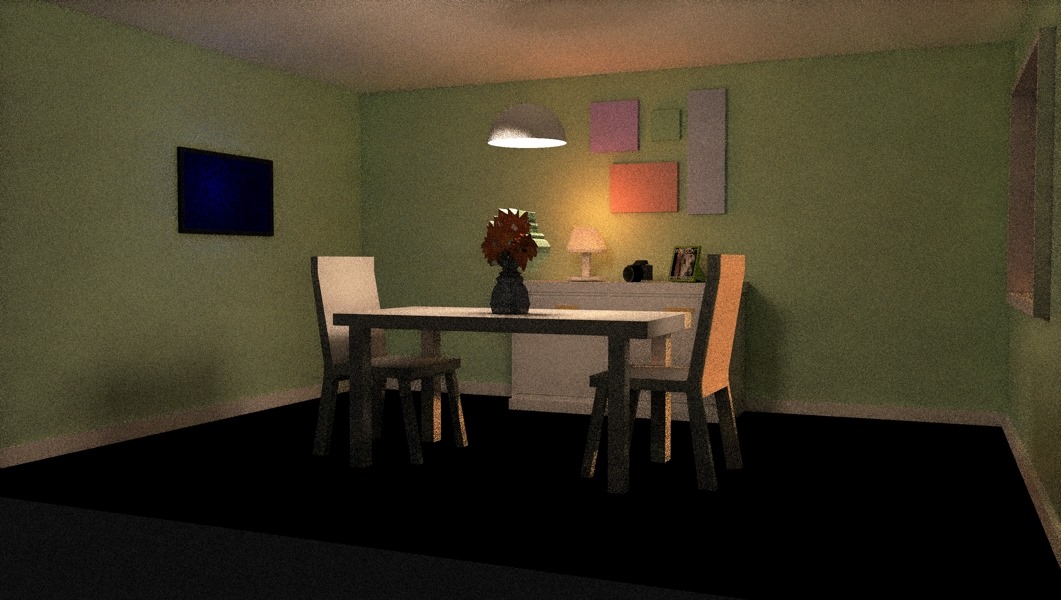
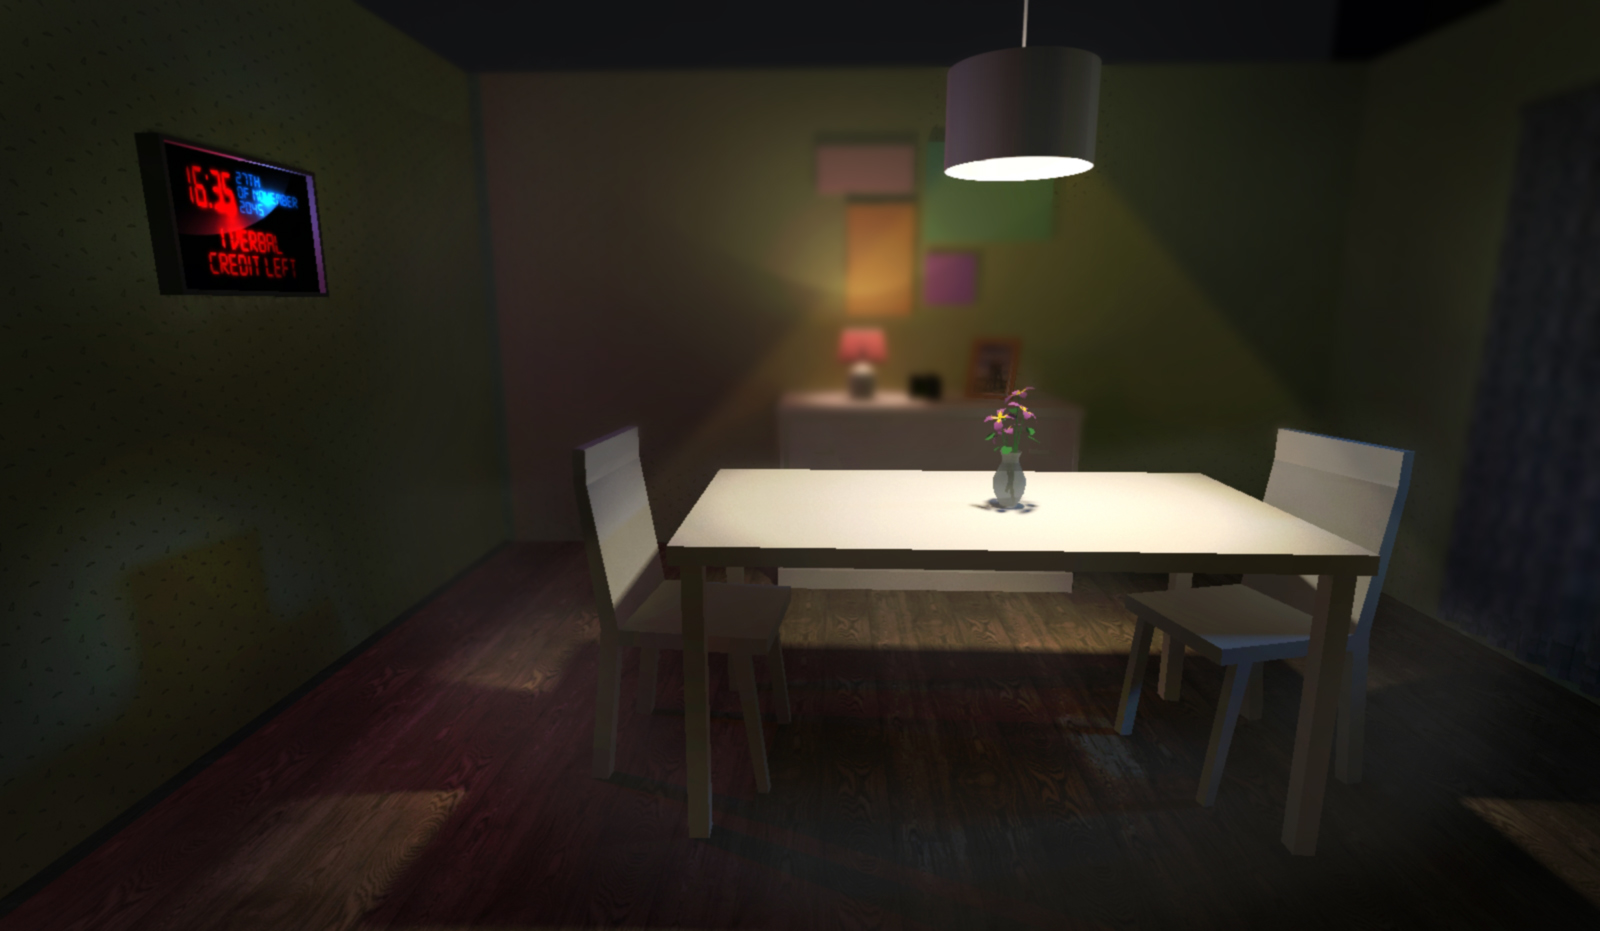
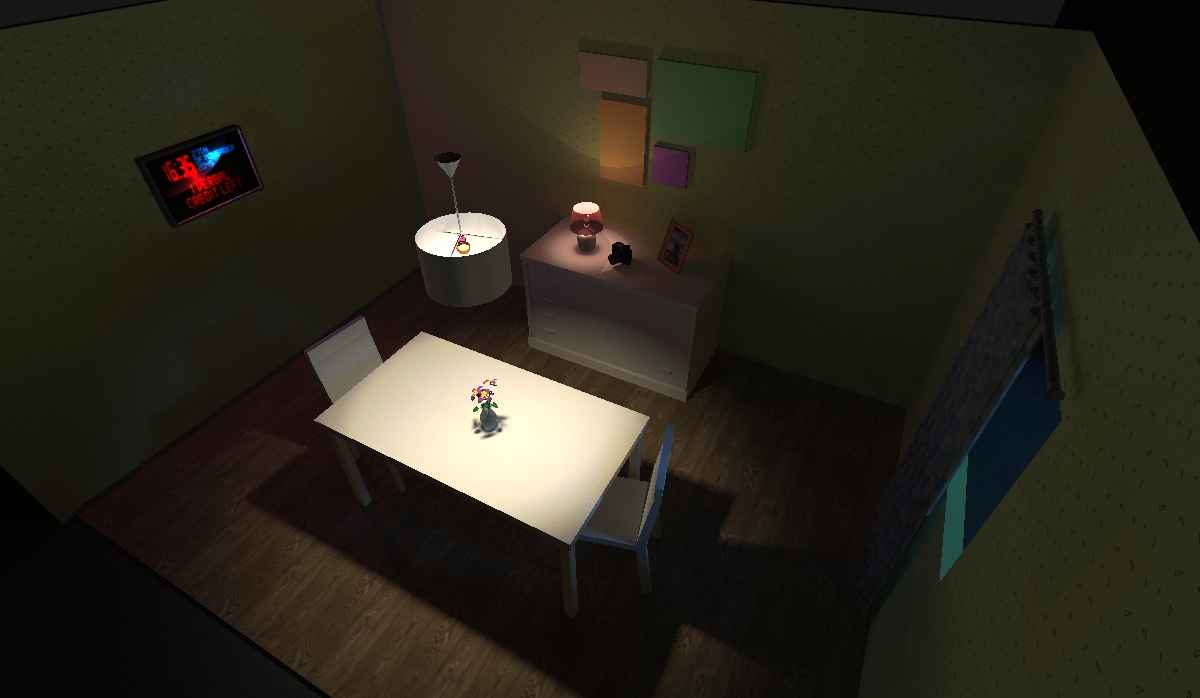
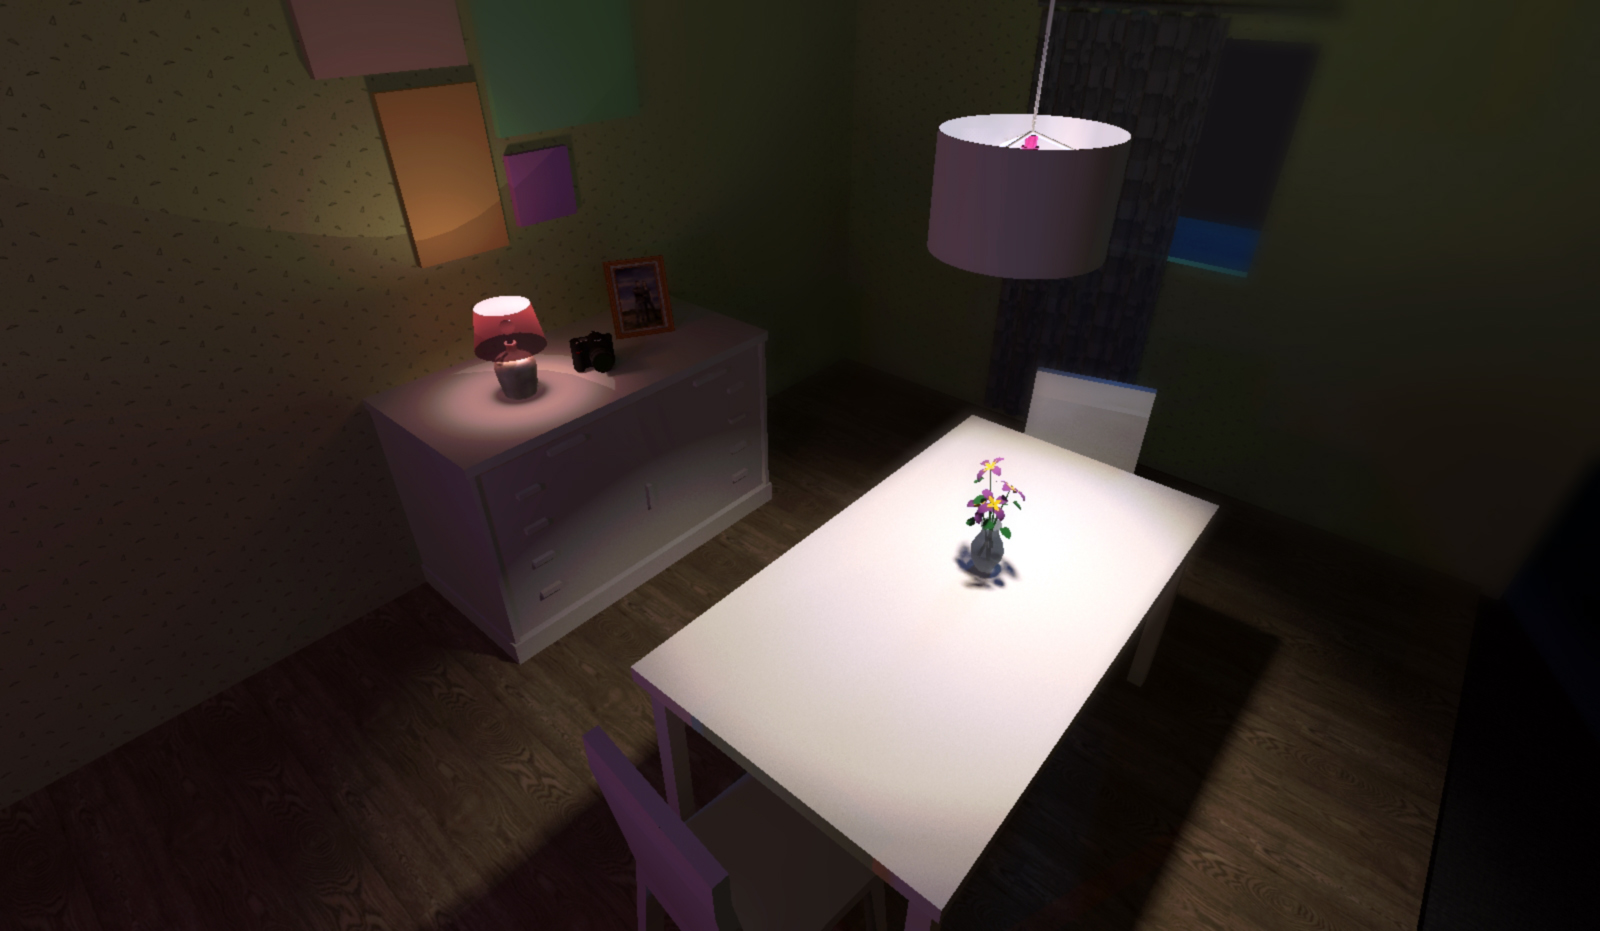
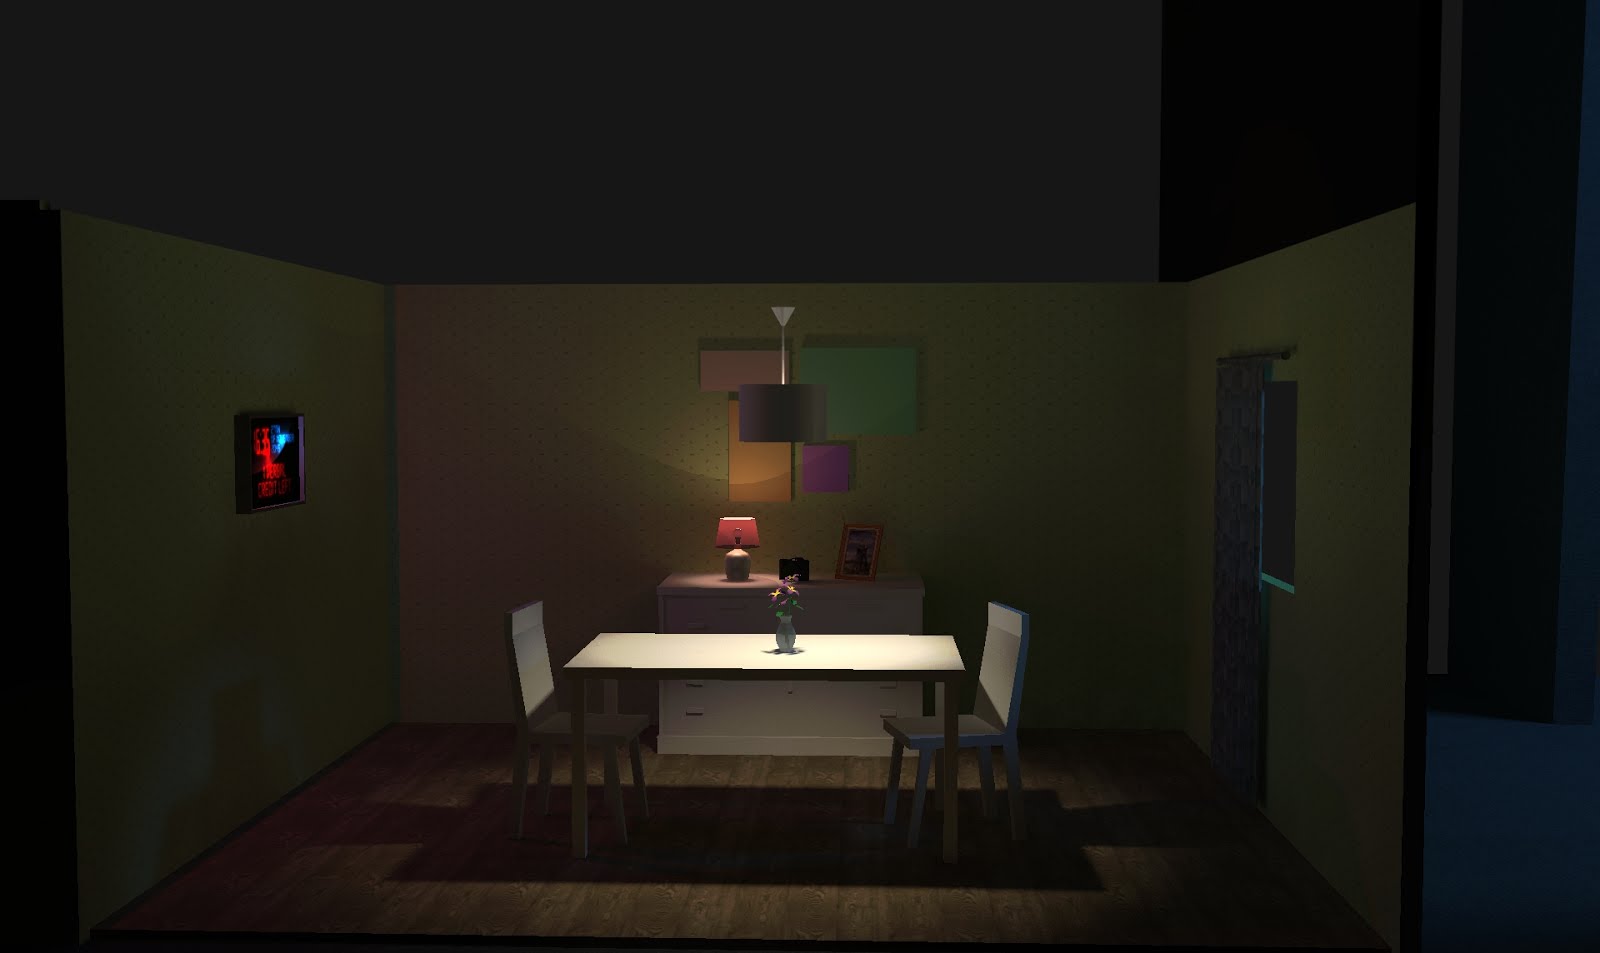
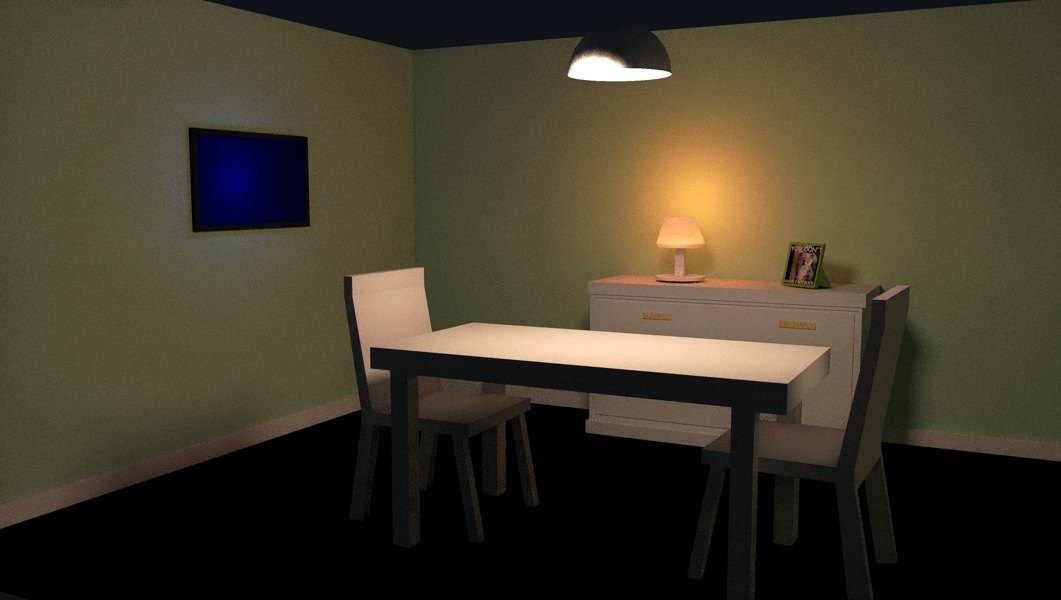
 While everyone was into polishing the story, I used my time for 3D project using SketchUp Pro.
I made a whole set to show previews for possible camera angles and lighting. These sketches and previews from 3D program is at the bottom of this post.

WAS 3D NEEDED?

It was not necessary, but in my view it helps a lot for whole team to understand and feel a bit of the taste what they are going to look at. It can help a lot to see some problems, possible movements, angles and actual space they have to bear in mind.
I did it to make sure I am helping my team as much as possible. We have to put our support and time as much as we can to make our film successful!

Another digital thing I did together with Preston. Something must be on TV's screen. Animation. Preston did design for the clock and whole system which shows word count. My role in this was to make clock alive. I used Adobe Photoshop, After effects and Adobe Premiere to easy change the certain time and move alerts. We setup the word count and made animation so it looks interactive.
...This only one test for alarm. I made folders of files to make sure there is no mistakes and animation makes everyone happy.


My inspiration is photographer Toufic Beyhum, he’s taking photographs of people at the Brixton Masjid, a mosque with a high turn out of young people – and an obsession with new kicks. (Link) They have to wear full-length dish dash – their only option to be stylish is through trainers. Looking just on the shoes they are wearing it is quite easy to say something about their personalities, behaviours. For longer time I though do I need same background or ask models to be in different locations. I decide good for black backdrop that only helps to thing about the shoes. Different environment could make wrong thoughts.

Shoes represents memories, where they have been, what have been done in those and how careful is the owner. I took test shots with my own shoes.

Another mistake, composition, everything on one side, only one shoe written memories are missing. I tries different angles, took pictures on same backdrop.
Two speed-lights from sides trough A4 paper, diffusing the light.
  I did talk with each shoes owner and asked what their taste of shoes mean to you, different question was included to remember what memories are happened in these shoes. How the personality reflects by wearing their stylish shoes.

Finally I add text on each image and it worked perfectly.
It was challenging for me because of picture count. 5 picture composition is not the best I have done. Also find difficulties pulling out the right text which presents their daily life and taste of shoes.


Photography is something really close to me for a long time, but there is something that I have noticed only this year. I can easily make ideas of free themes or really specific ones. 'Memories' makes me think straight (Good and not so good. Things that are related to family, friends, home, etc.).

At first I focused more on technically impressive photographs. I draw few ideas in my notebook as I always do. 

1st. idea was created quickly thinking straight about the mirrors. I was mostly inspired from two photographers Erik Johansson and Martín De Pasquale.
                                                                                                                                                                   Photo by Martín De Pasquale

For 2nd. idea I was inspired by Erik Johansson only. He has tried to show in his artworks two different realities. Quite hard to find two very similar places barely using photoshop. It is because  of my country which looks completely different and it is not only related to landscapes. It has its own architecture, style of traffic and colour theme overall. I found this quite difficult because of pictures I had from Latvia. Tried to find similarities in lines and perspectives, it took a lot of time and patient. 

3rd. idea was important too because of technique how to present my work. Taking photos of important things form Latvia, placing them into jars just as a memories from my past. I gave up on this understanding that there is no actual meaning, it would be just a technique and manipulated old style photos of my personal items.

Other ideas was almost the same as those explained before. I was focused too much on the technique how to present my artwork originally. Only after our first meeting with Leah Gordon I analysed my mistakes. All simple ideas are genial. Though more about the time, meaning and what people leave after themselves.

I paid more attention to the artist Taryn Simon. Her exhibition "Contraband" made in 2010 is a simple idea of taking clean photographs of items. Every composition centered right in the middle, soft light around the objects on white background. Remind me product photography you can see in almost any shop. The idea was simple but I felt that it is too easy in terms of actual photoshoot. Easy to set-up the lights, background and camera. I wanted something more challenging.


The idea for my last concept came by itself. I was drawing sketches on my notebook and accidentally drew wrong size men. I looked up on internet how many photographers do the same thing. As my inspiration I choose Joel Robison. He has awesome works. I would say that now he is one of my favourite photographers and Photoshop artists.

As my location and background I choose the forest. I love the colours and textures you can find there. Secondly, it is easy to manipulate with shadows and sizes. We know how large are leaves and a bark so we can think quickly about the actual scene's dimensions.

I  used wide angle lens to show as much as possible around me. It also gives nice depth of field. Fast shutter speed and low ISO gave me really good quality of image. The actual image is combined from two pictures. For both picture - landscape and myself I used the same camera settings and lighting source.

In post -production I used Lightroom to quickly look at my RAW and to select the final ones. For blending images together I used Layer Mask and a little bit of digital noise so it looks more natural.

About the idea. Throughout history, human beings have struggled to achieve control over nature. And now when we have so advanced technologies and medicine we believe more about controlling nature. My images shows that we are not so big as we imagine. Nature doesn't need people. People need nature.  Man cannot control natural disasters. The future of nature is the future of us.

My strengths was using Photoshop and skills with DSLR. But anyways, I found that there are things to make better. I could take more time for shadows, trying more facial expressions or poses. Maybe symbolic outfit or tools around me. This was another lesson for me how important is light source and if it is good, how easy it is to manipulate with two different images.


During my third self portrait concept I needed help. So my friend Ivan helped me taking photos in the right moment. It was a dark night so we went to the field where was  enough space to do my creative work.

This time my inspiration was Von Wong - one of my favourite photographers who has done amazing fire pictures in real time. 

HOW IT WAS MADE:

The final work contains about 16 photos. 
I started with original:
To light my face I used one speedlight - about 5 meters away.


After the original one. I took more with flames around. Merging together in Photoshop.


Combining layers I got the result I really wanted.